
It’s Summer! Experimenting with Black-Eyed Susans
Linda recently wrote about our first experiment last summer, describing the process of dyeing with goldenrod and marigold. So, I thought it might be fun to share learnings from a current experiment underway with Black-Eyed Susans (Rudbeckia hirta).
Growing up in Indiana, Black-Eyed Susans were a happy sign of summer. I associate these flowers both with well-tended gardens as well as being shining stars among wildflowers in the fields. This time they have an added special meaning – they were planted by my Aunt Stacy and Uncle Mike, and I was able to gather some from a recent visit to their home.
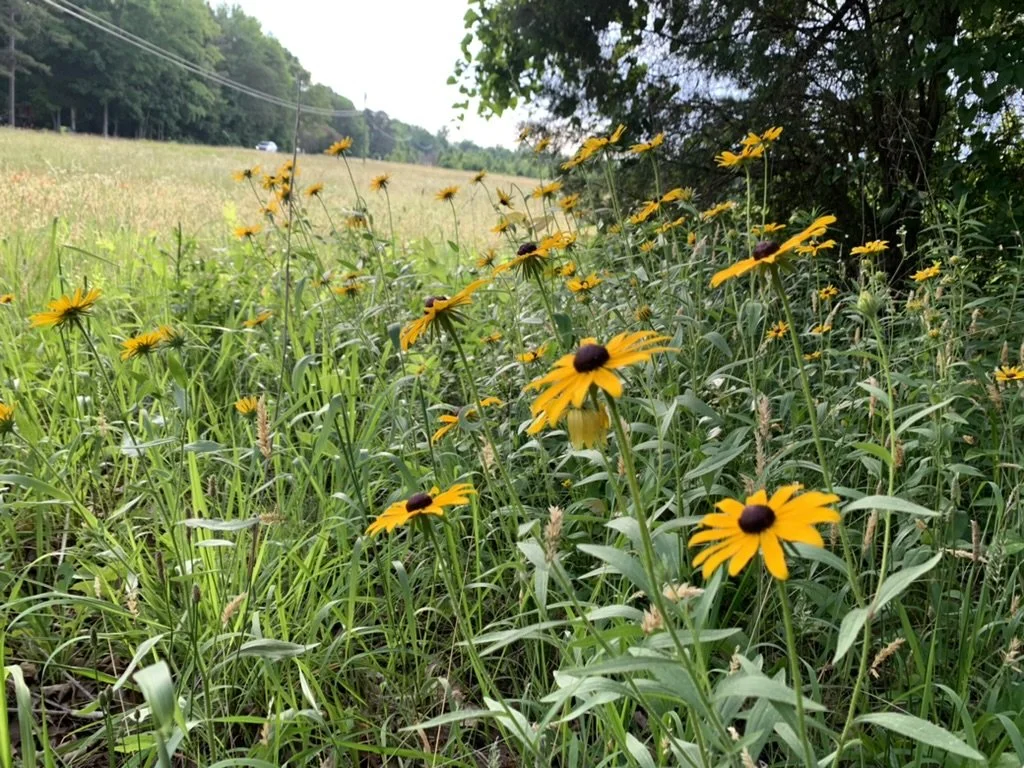
Black-eyed Susans planted by Michelle’s aunt and uncle.
As part of a naturally-dyed wool community with Jean Haley, we are experimenting with solar dyeing – using the warmth of the sun to heat the dyestuff, and in this case, the material with it. Prior to this, I had used Black-Eyed Susans to make a beautiful olive green, and I was eager to explore the range of color by deconstructing the flower. From my earlier days with oil painting, I know that black added to yellow can bring beautiful olive shades. So, while I was expecting yellow from the petals and a gray from the cores, I wondered how much yellow and gray would there be?
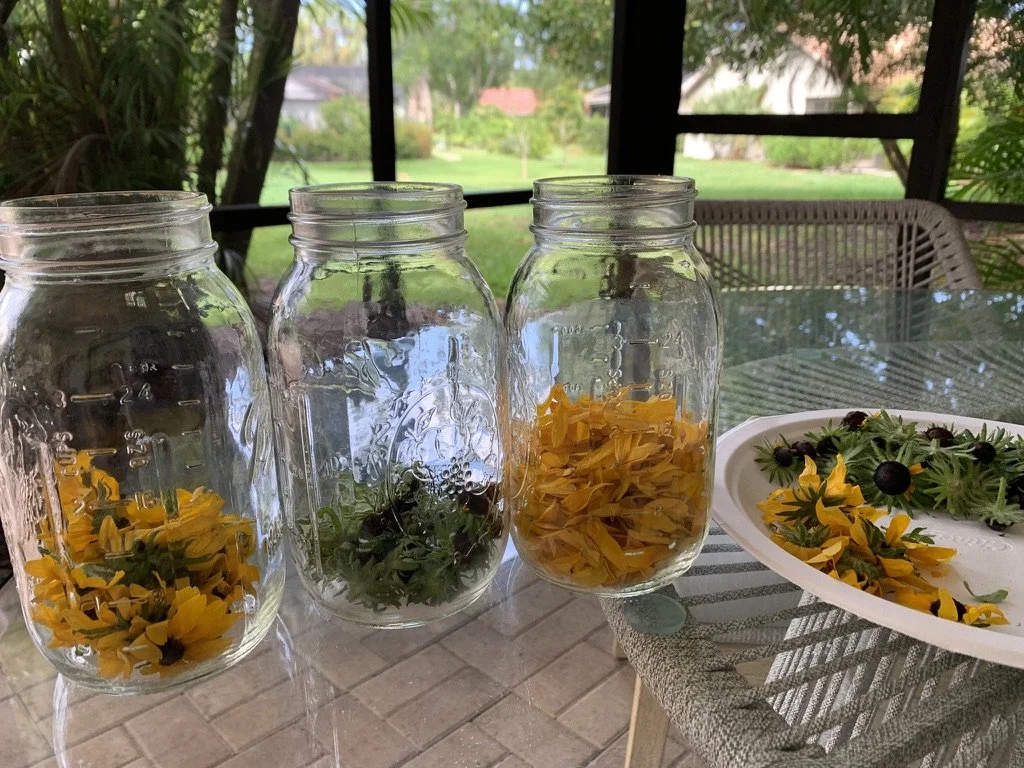
Deconstructing the flower.
For the first part of this experiment, I included a 2:1 dyestuff-to-fiber ratio, and I put them in the same spot on the patio. In each jar, I am using 10 grams of merino wool purchased from The Woolery and pretreated with some alum to ensure the color adheres to the fiber.
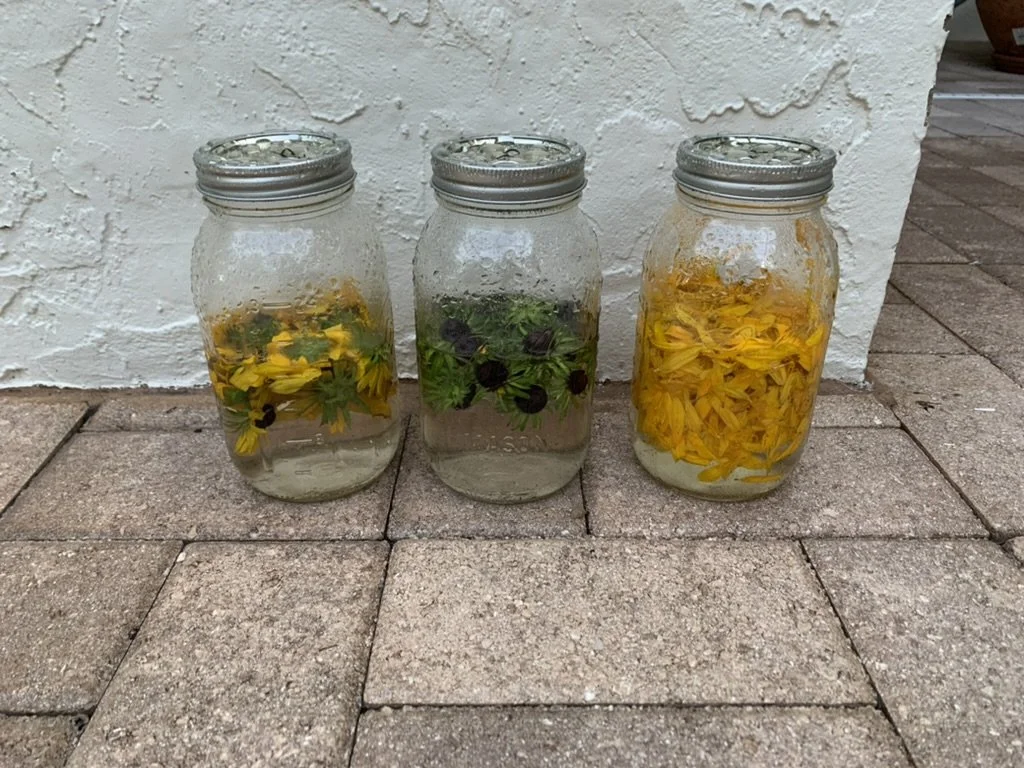
After just a few days, I peeked inside to see how the colors were developing.
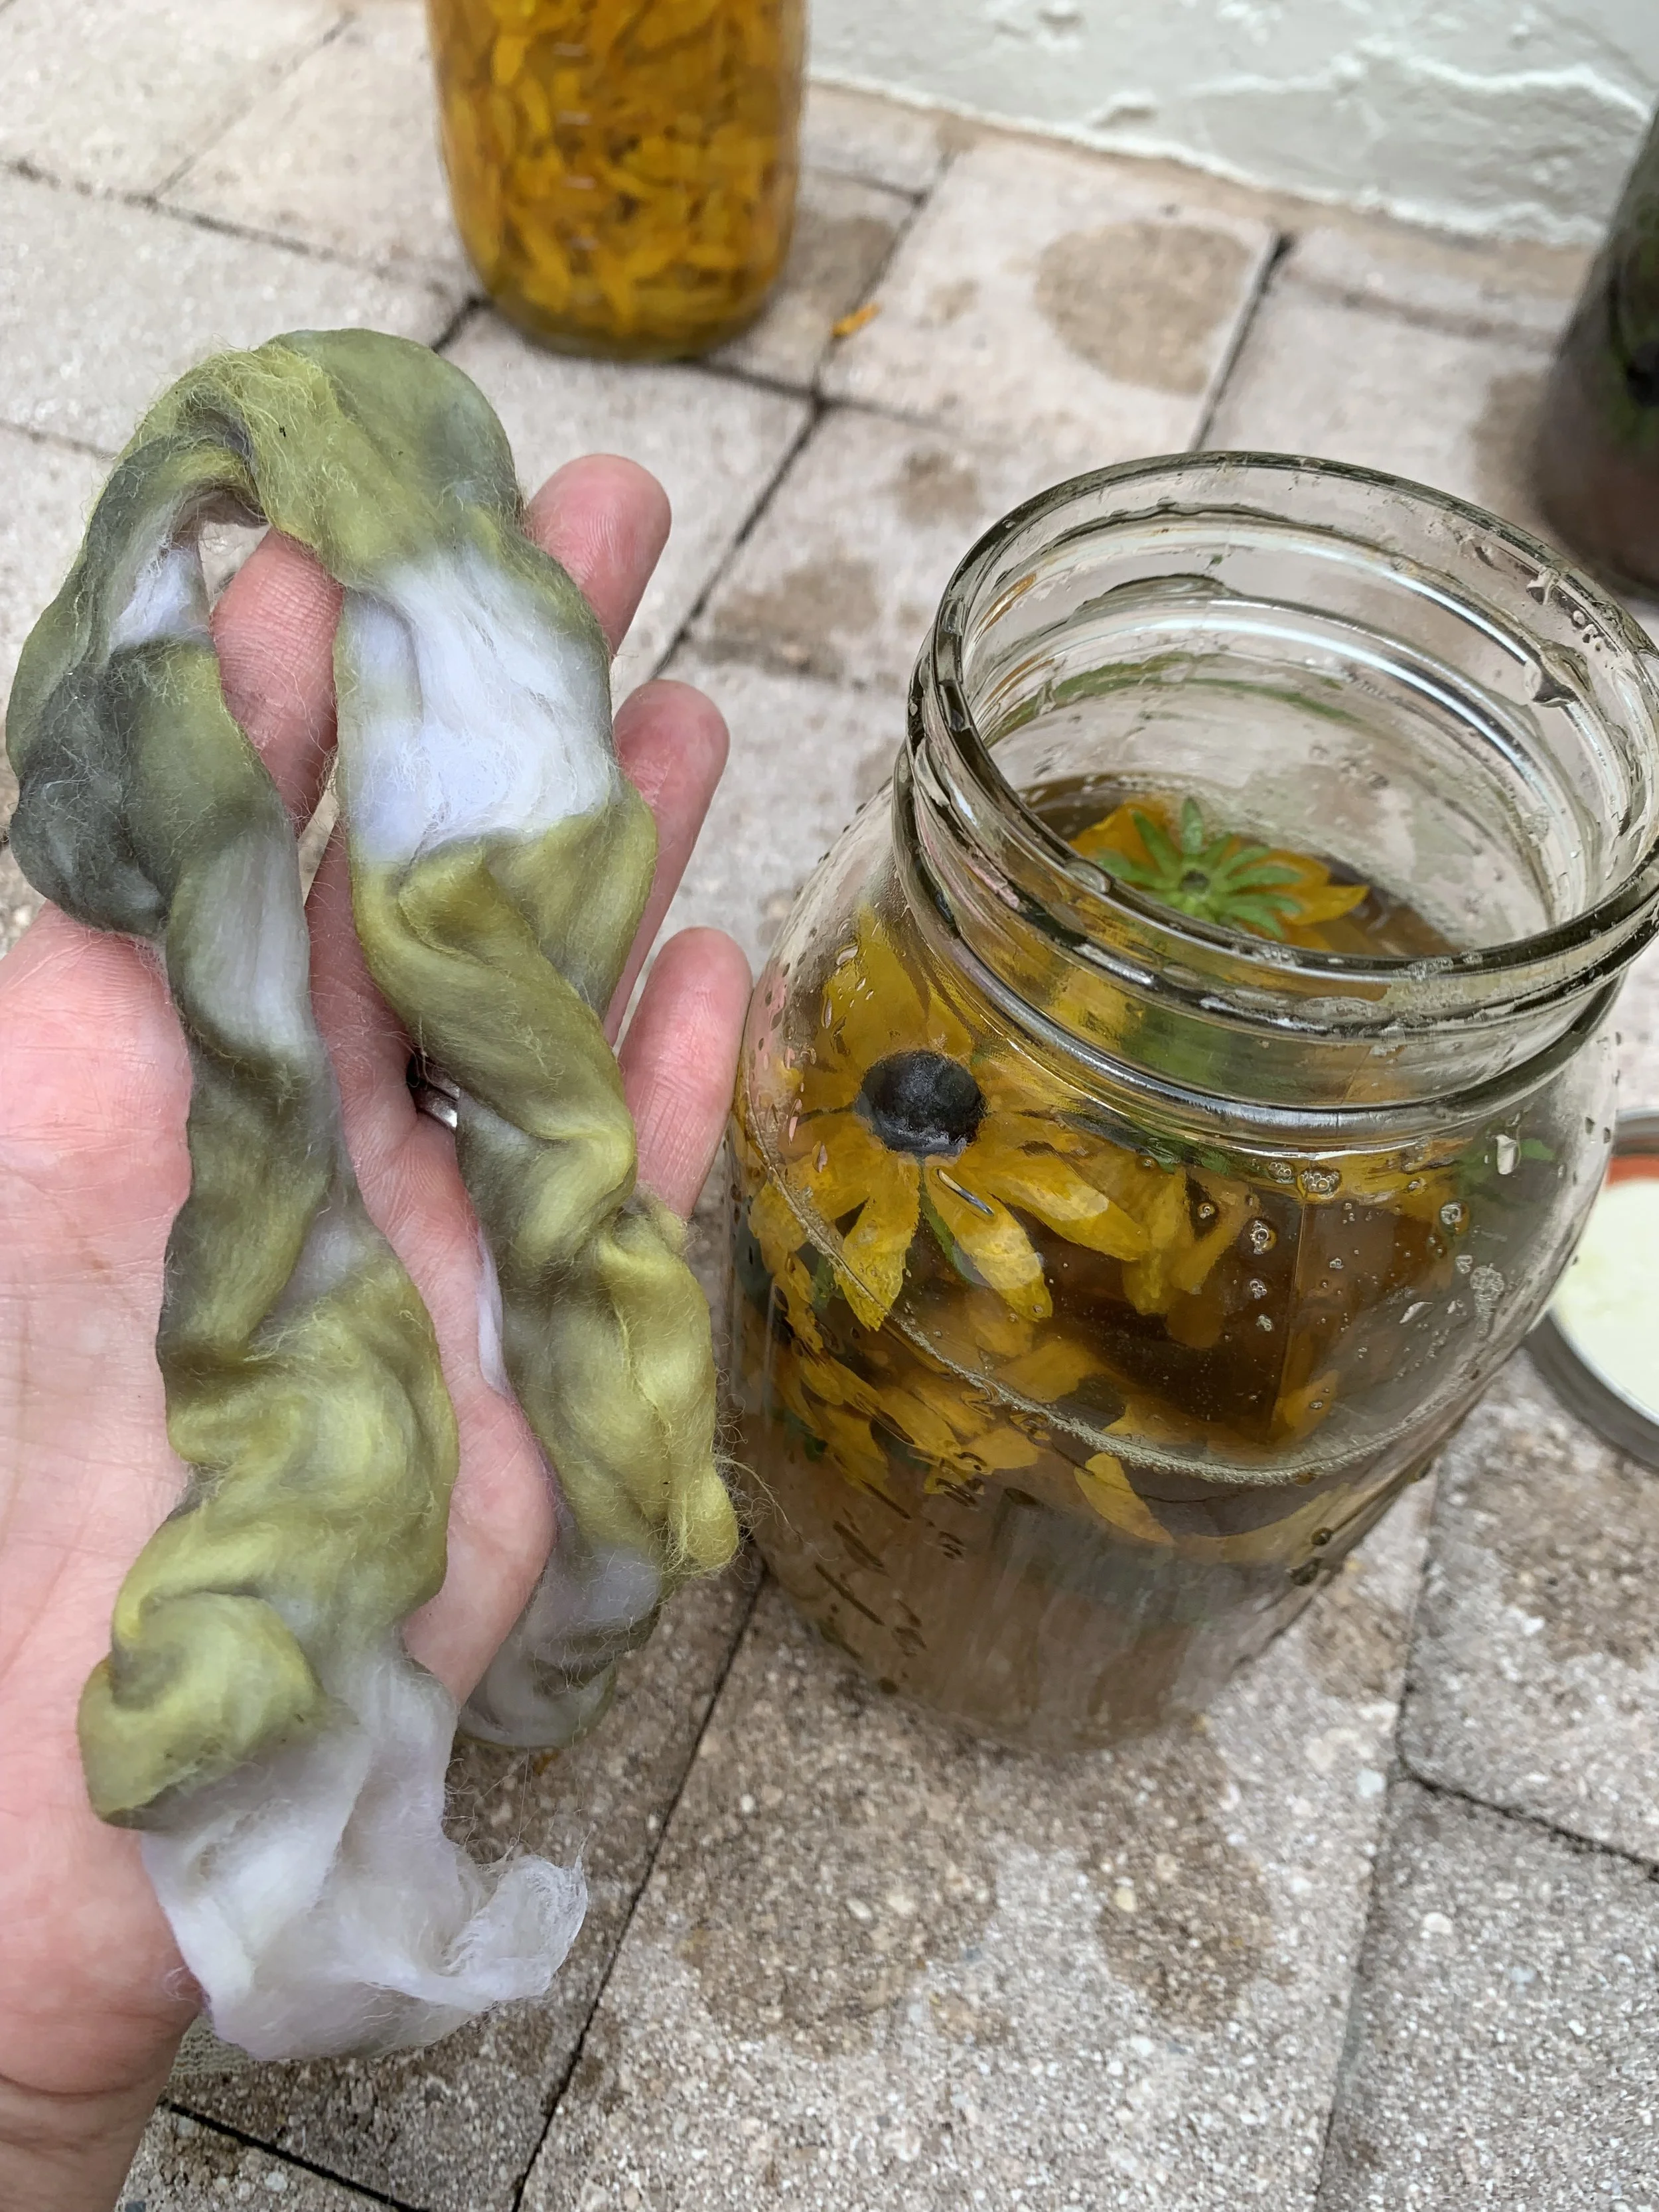
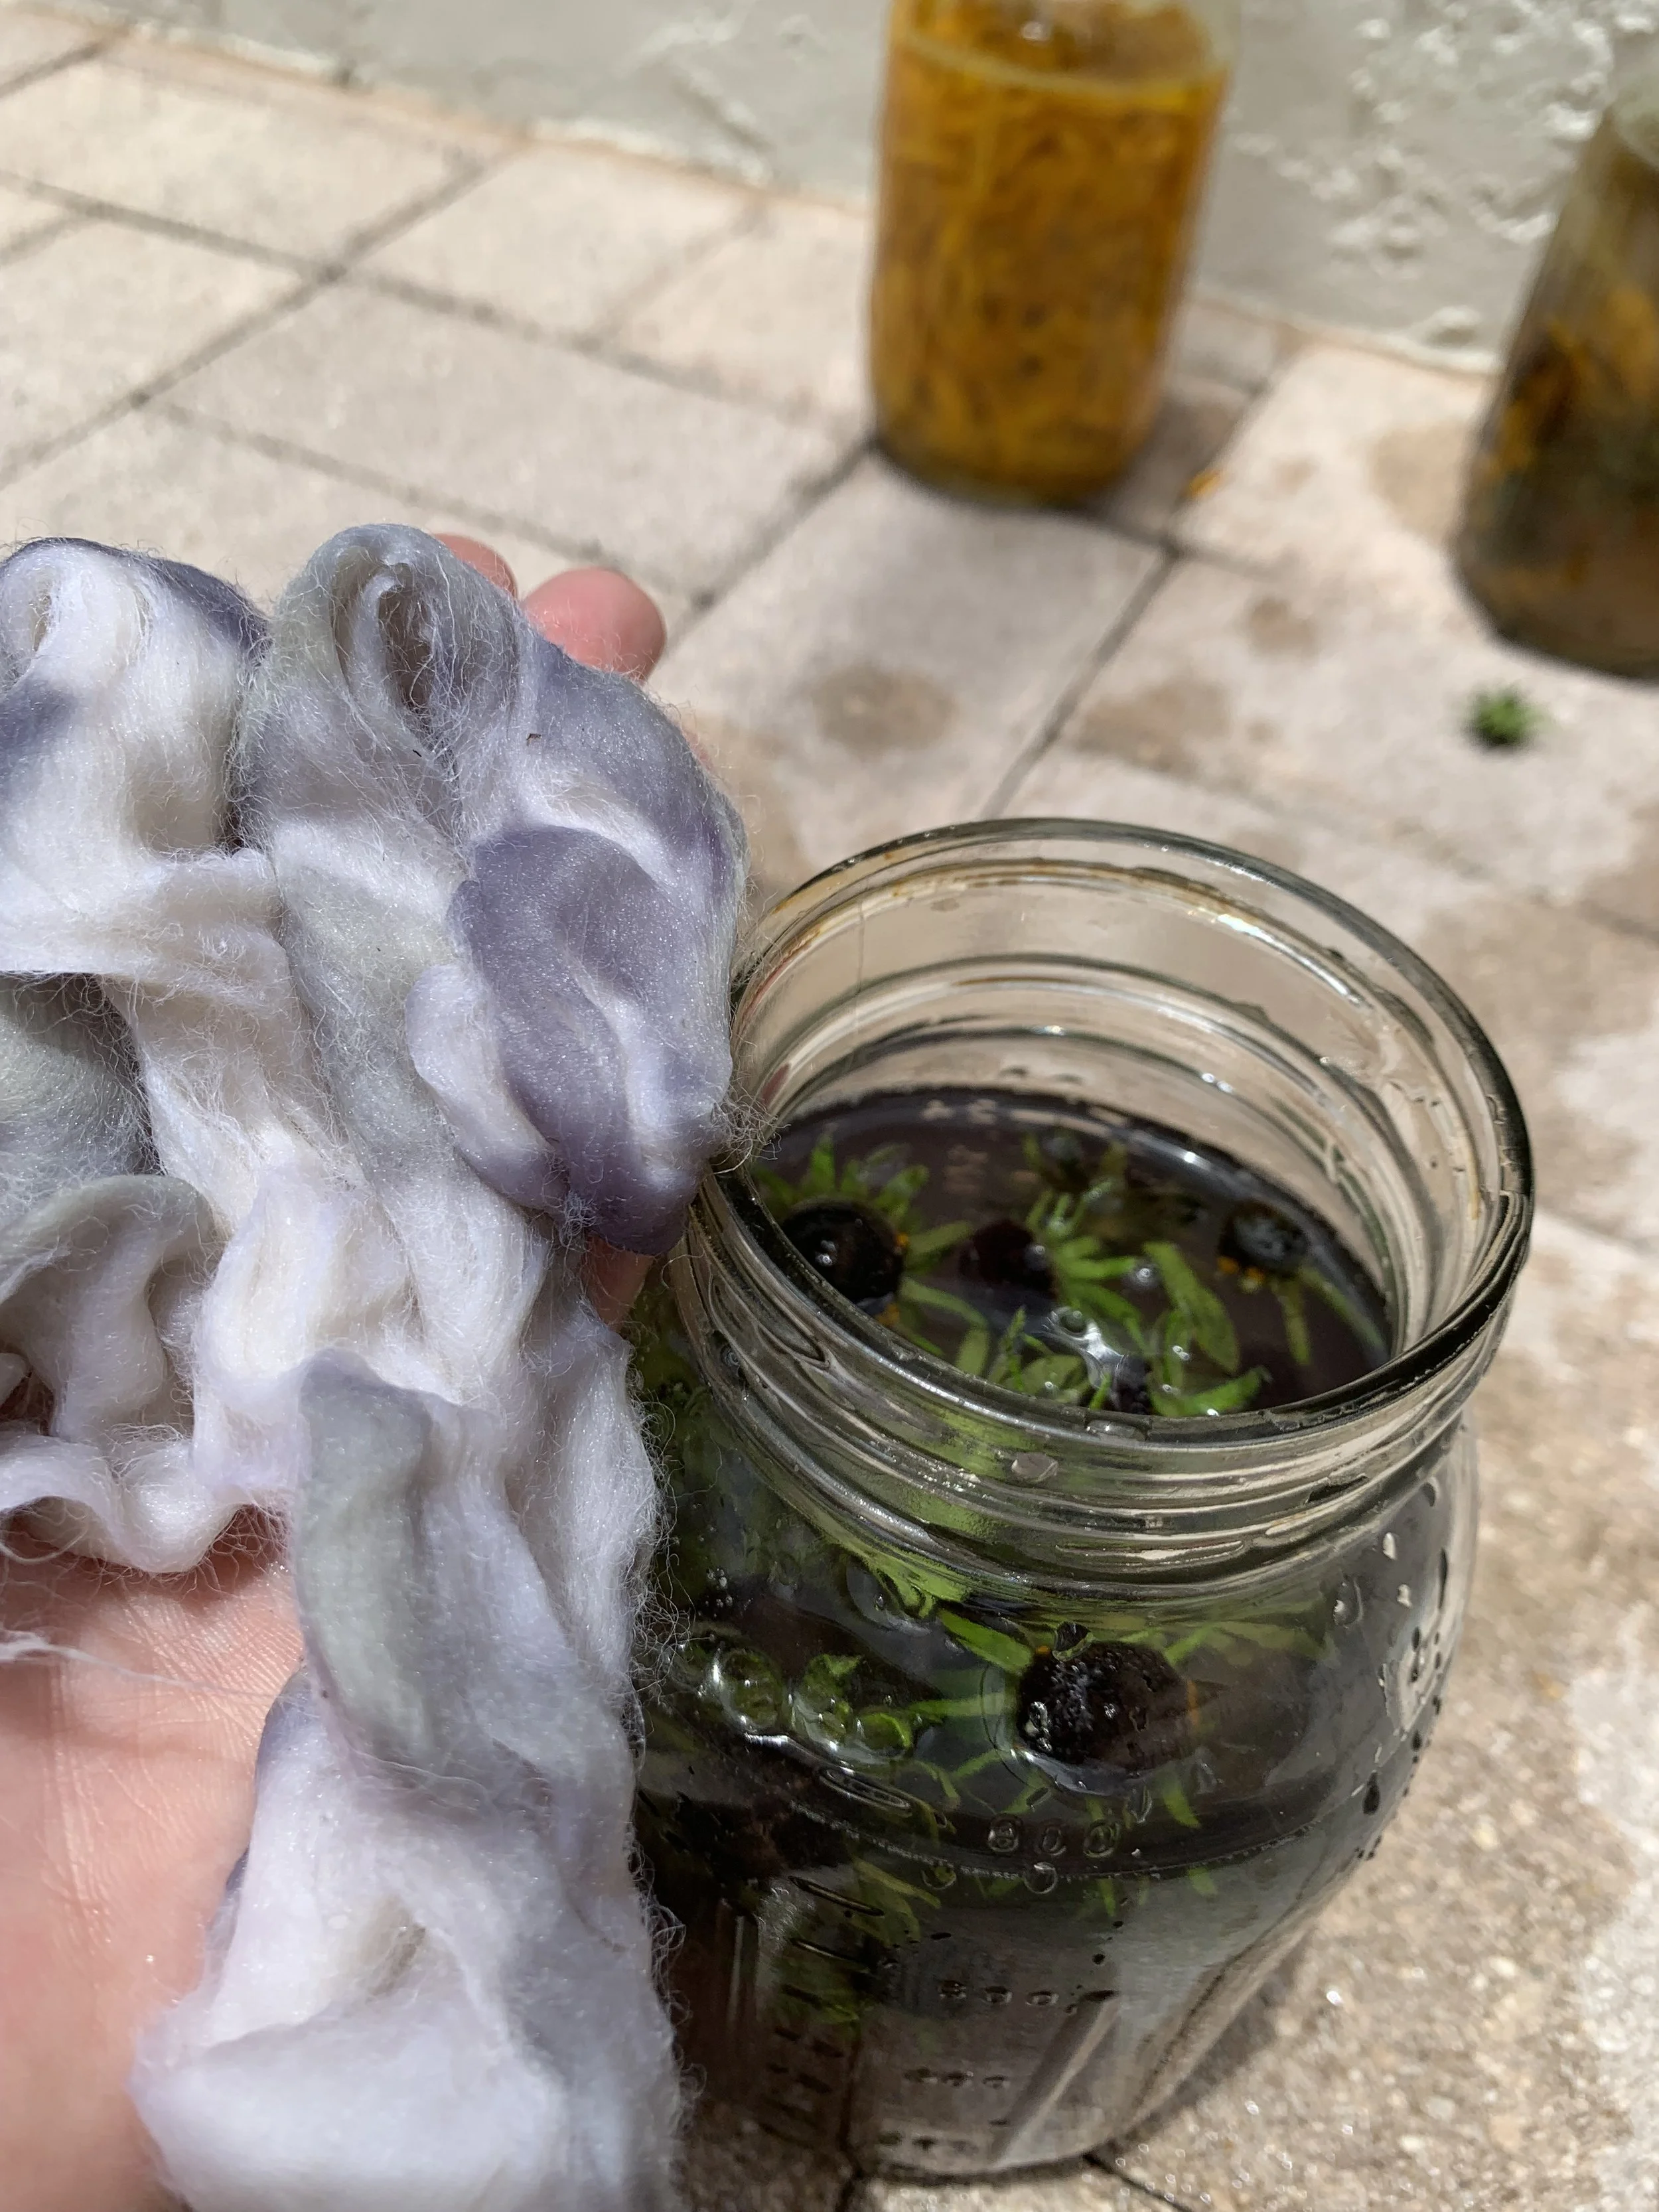
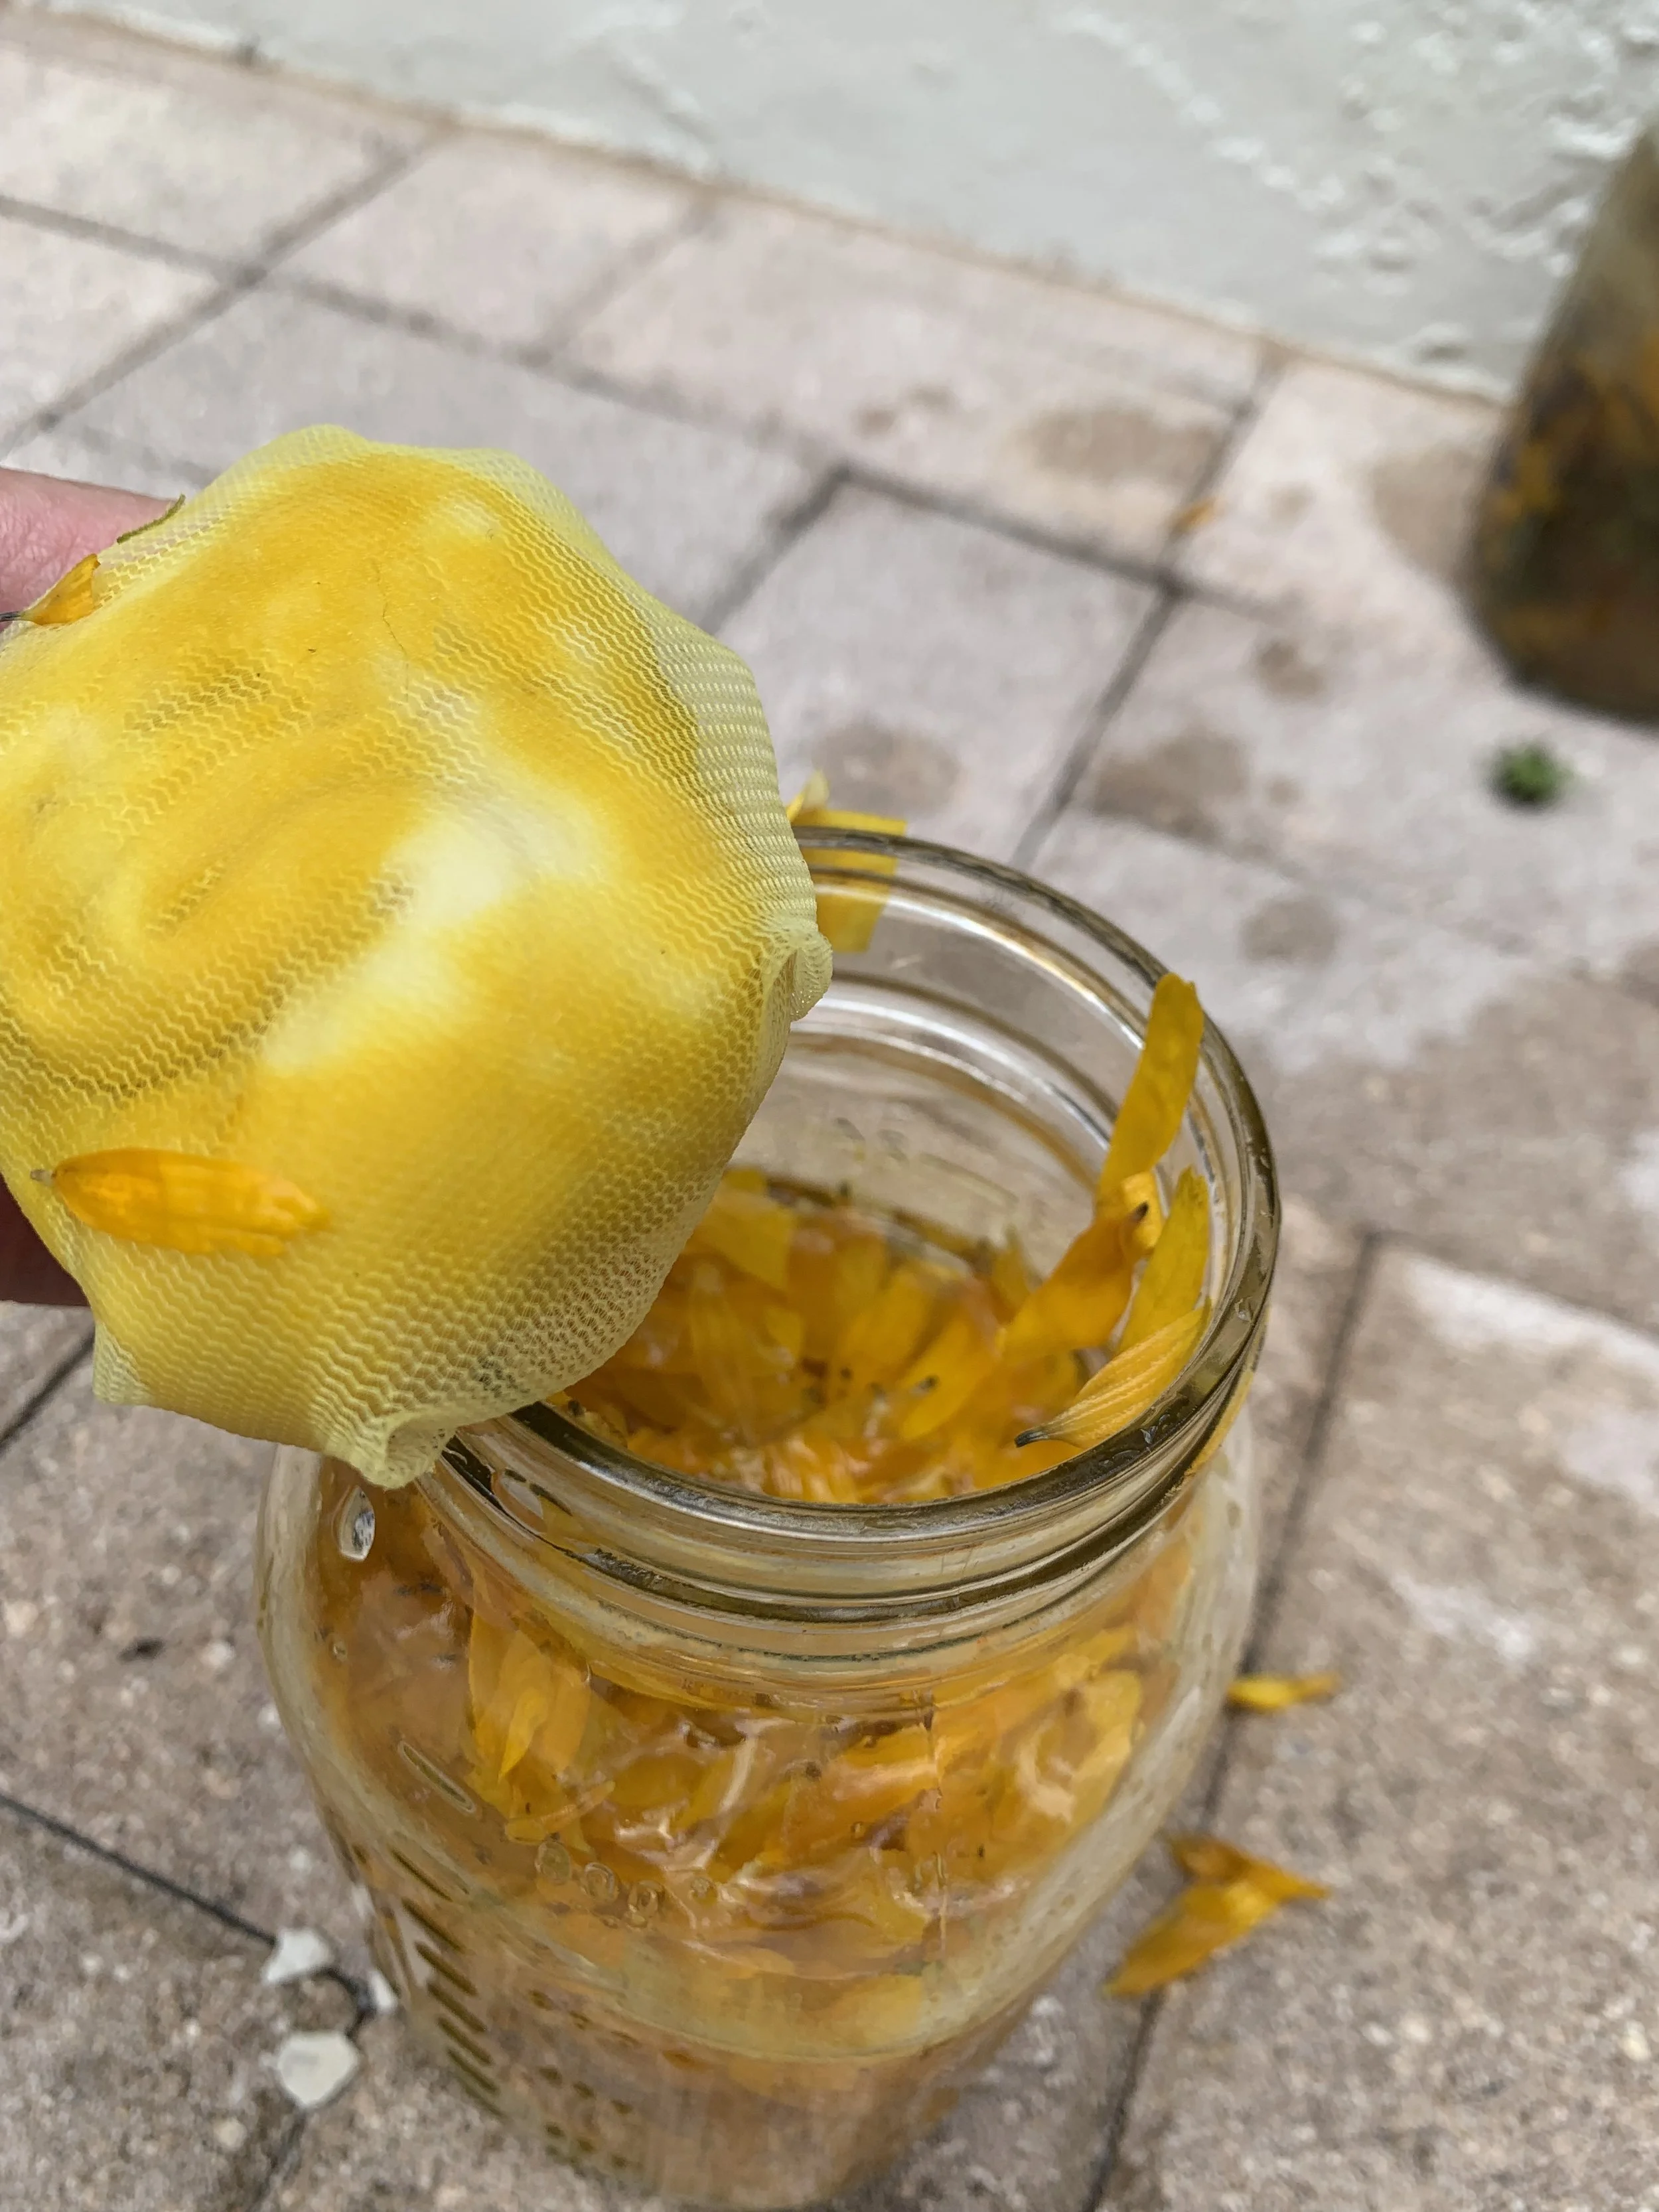
I was shocked at how bright the yellow was – like a highlighter! And the cores produced greens alongside the gray hues. You will notice the variegation, with quite a bit of white showing through. This is because I bunched up the fiber and encased it in a little netting for the solar dye process. This helps keep the plant parts from getting stuck in the fiber. It also creates variegation by exposing the parts of the fiber to the dyestuff in different concentrations. If I were seeking a more consistent color, I might put the dyestuff into the netting and periodically move the fiber around (gently) to ensure more equal exposure to the dye.
After a few more days, I pulled them each out. And I have to say, the smell was overpowering! For days, my husband could swear he smelled old gym socks (even after a good soak). Next time I would like to find a cool dry place outside in the shade and let them dry before rinsing to perhaps better set the color. But not being at the studio, I didn’t have that option. So, I washed them right away and dried them in a back room.
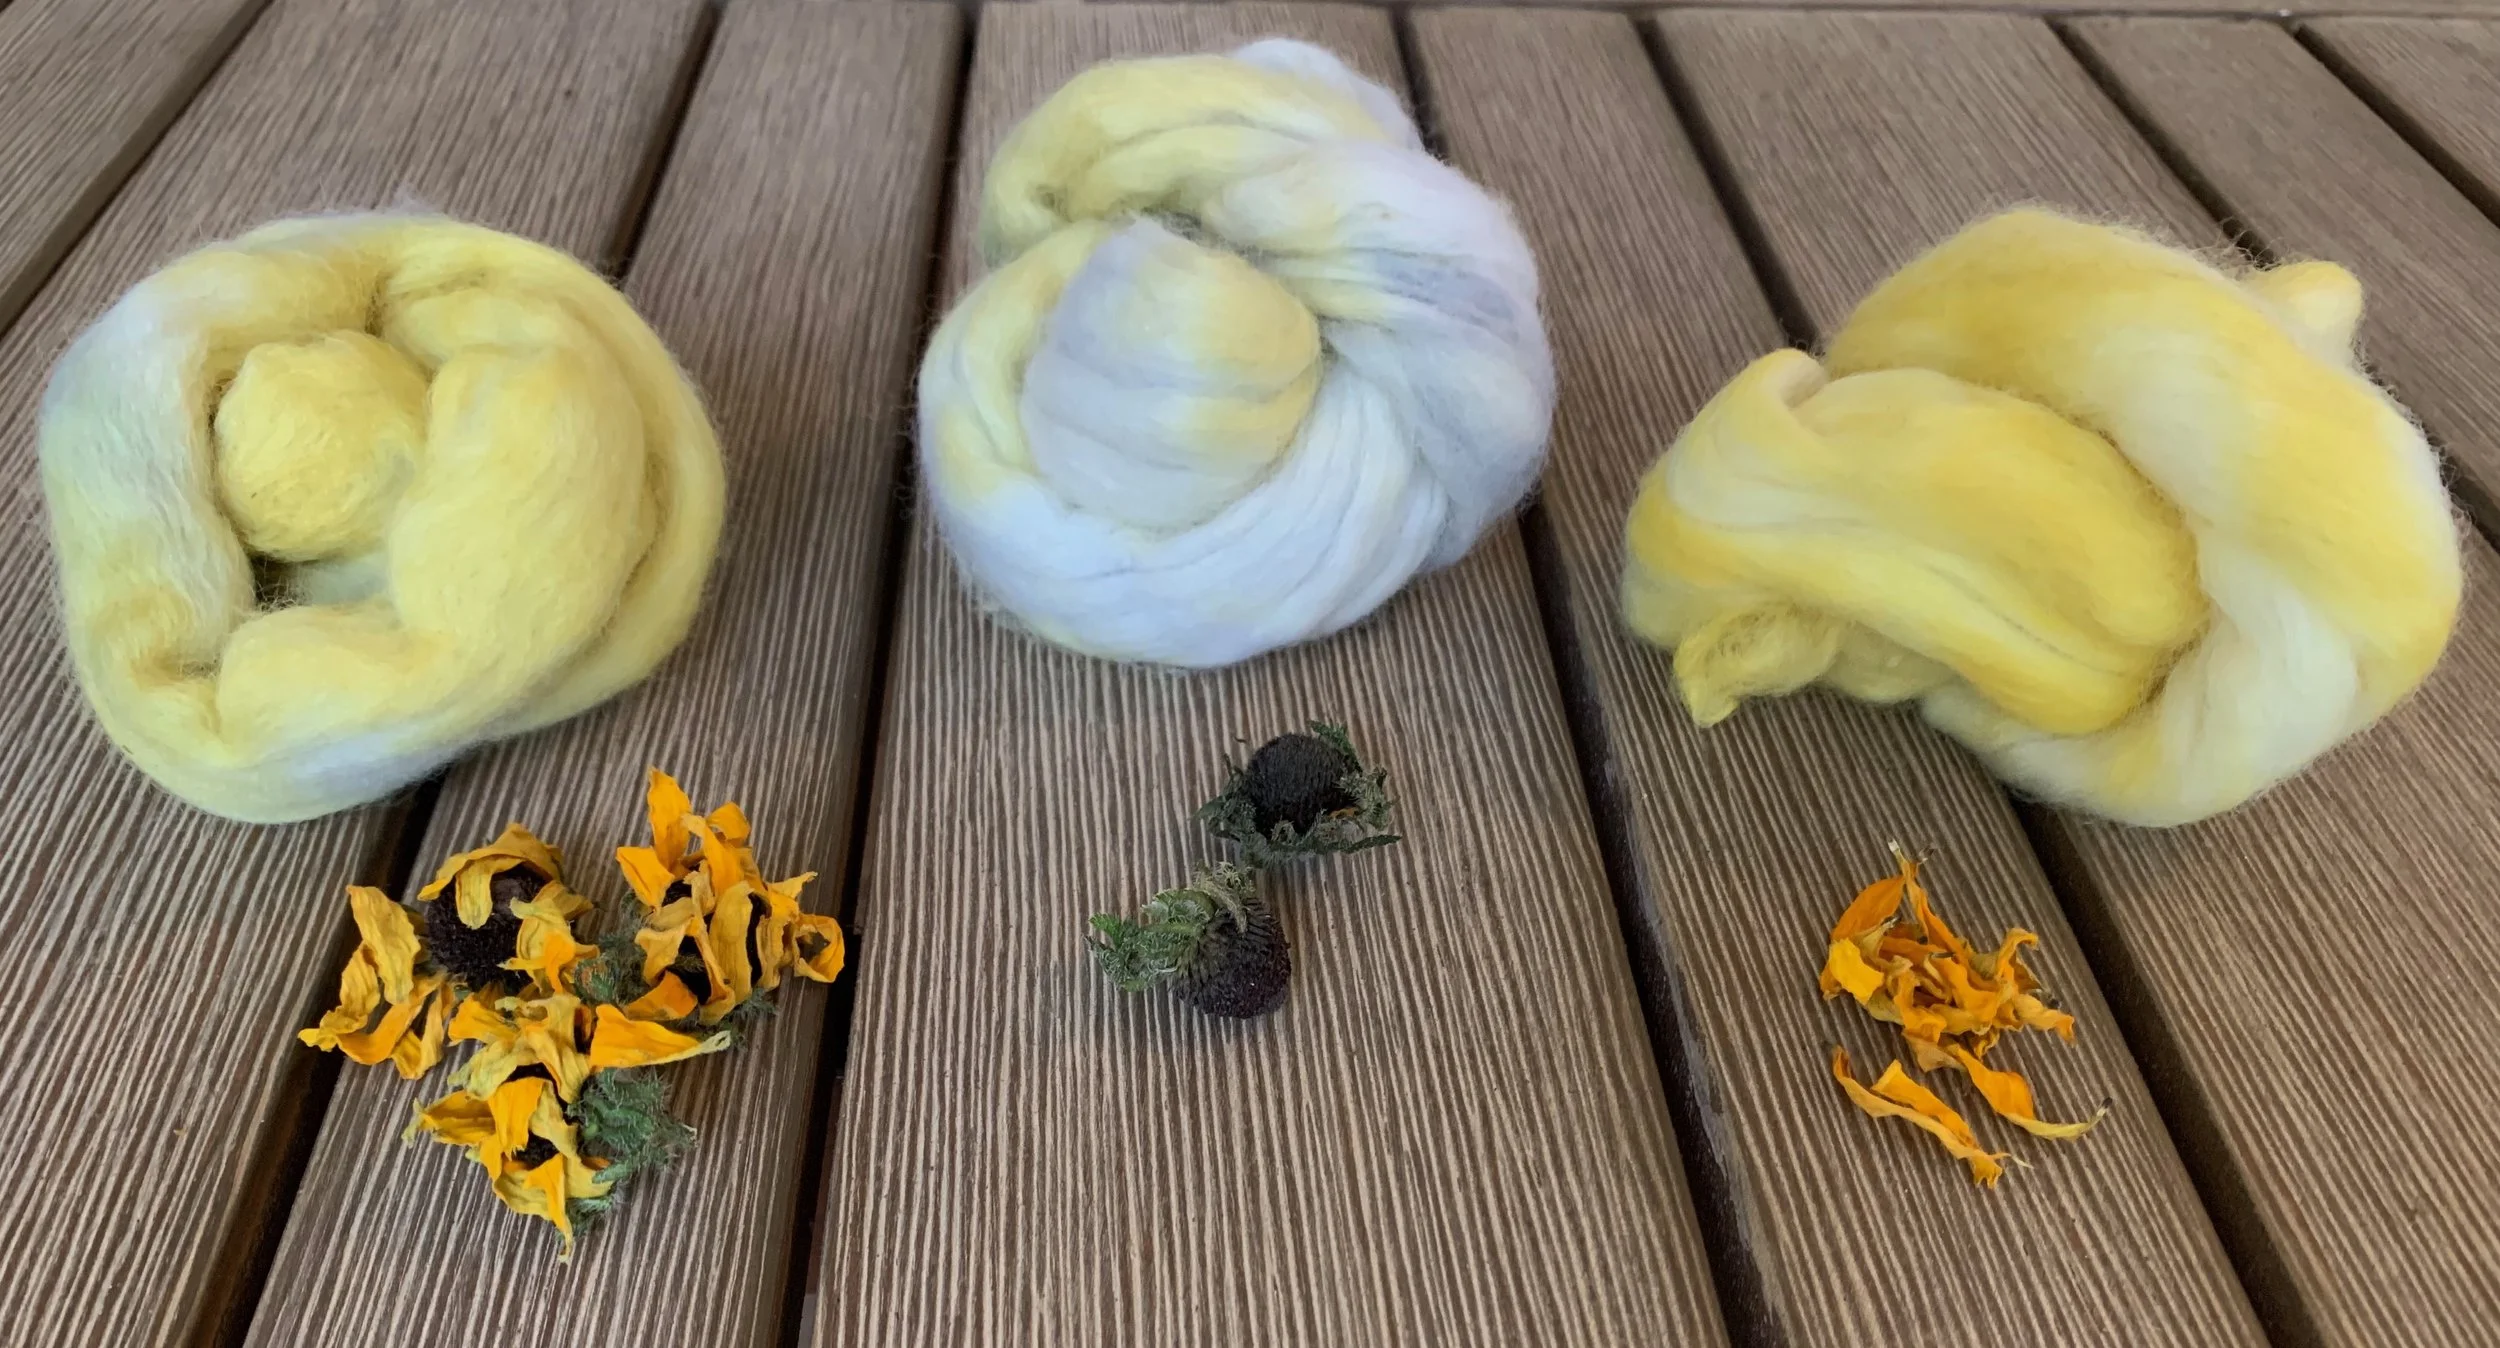
I love these little nuggets of nature! You’ll notice there is still plenty of variegation, but just more subtle than the interim photos suggested. By rewrapping them, I could expose more wool to the dyestuff, and putting it back in the sun for more time allowed the dye to soak into the inner parts. The surprise for me---less green than I expected with the whole flowers, and more yellow with the cores. There were likely little pieces of petals in there, and the yellow dyes may also reside in the centers. But I certainly expected much more gray! It’s a little late, but these little guys would have been great for last year’s Pantone colors of the year.
It will be fun to see how these spin up. So stay tuned!
Michelle